
Originally found a recipe online a few years ago for some peaky looking witch finger cookies. Now they looked bad enough I suppose, but when have I ever been able to leave well enough alone? Over the last few years my toes and fingers have gotten ever gorier. All the better to freak the wee chillun's out I say. You can take these as far as you're willing to go. Either just bake 'em and leave it at that, or go whole hog and get out your paintbrushes!
For whatever reason, a recipe that used to work just great, holding the form/details I sculpt in, now has the tendency to flatten out and puff up in the oven.
(UPDATE: see alternative recipe that I'll be using from now on below the first!)
They still look gnarly, no matter what condition they're in upon coming out of the oven...especially with cocoa mix "shading". I know I'm late in getting this particular post together, but look at it this way. Now you have a whole year to get your technique down. ;-)
Severed Ogre Toes (or ears, etc.!):
(Adapted from a recipe from Britta's awe inspiring site devoted to Halloween)
1 cup unsalted butter
1 cup icing (confectioner's) sugar
1 egg
1 tsp almond extract
1 tsp vanilla extract
2 2/3 cups flour
1 tsp salt
raspberry jam (if using an all-fruit no added sugar, add red food coloring)
whole blanched almonds
food coloring
Ghiradelli's cocoa mix
assorted paint brushes...a nice soft fan brush, and fine detail brushes
In a bowl, beat together butter, egg, almond extract and vanilla. Add food coloring at this point if you'd like to tint the dough.

I use a combo of red and blue with a touch of green to come out with a greyish purple dough.
Add flour and salt to mix.
Cover and refrigerate dough for about an hour. During this time, split some of the almonds and carve toe nails. You'll be using the fat end of the almond for the outside edge of the nail, so concentrate on making it creeptastic. Now, take whole almonds and cut off the butt end to create the bone shard that will stick out the back of the cookie.
Load a small Ziplock bag with some raspberry jam and make a small cut at one corner.
Prepare a baking sheet with parchment paper.
Working with small amounts of dough at a time, keeping the remainder in the fridge, roll a heaping teaspoon (my fingers/toes vary quite a lot in size honestly) into an oval shape then flatten. Pipe a bit of the jam down the center, then carefully close up the dough around it.


You can then shape the toe or finger. Create a knuckle, use a knife to make slashes across it.

If you have a jam "blowout" know that these end up being the best looking cookies in way of gore factor. So don't worry if some of the jam starts oozing out as you're shaping the cookies. :-)
Push in an almond nail, so that some of it is in the cookie...lessening the likelihood of it coming out after baking. Push in a "bone shard" end. Place cookie on parchment lined baking sheet and once you have the sheet loaded up with cookies, put them back in the fridge for about 30 minutes.
Preheat the oven at this point to 325.
Bake cookies for about 20-25 minutes, depending on their size. I sometimes end up taking the smaller ones off first and popping the larger ones in for a little longer.
As soon as the cookies come out of the oven (they MUST be hot for this step!), dip a fan brush into the cocoa mix and tap/shade the cookies. I usually do this around the nail bed, at the severed end around the bone, and shade along the edges around the knuckle.


Now you're ready to paint! Get a small ramekin and make puddles of blue, green, and red.
Red and green make brown, red and blue make purple. Just play with different mixes or straight color. I paint around the nail, the bone end and in the knuckle slashes sometimes. Just have fun with it. Oh and I also keep a bowl of water to thin the color if needed.


You can get bold and start making other icky severed parts too. This year, I've branched out into severed waxy ears. Filled with caramel and fig preserves "wax". Complete with a carved almond skull earring. The q-tips are just pretzels dipped in melted white chocolate.

That's it! Now comes the tricky part. Seeing if you can get anyone to eat them!!! Easier said than done. ;-)
Happy Halloween everyone!! Chickpea sends her witchy-poo love!
 UPDATED ALTERNATE RECIPE:
(developed with Debbie's help in the quest for a better tasting and looking cookie)
1 cup whole wheat pastry flour
2 TBS corn starch
1/8+ tsp salt
1/2 cup (1 stick) unsalted butter
1/2 cup confectioners sugar; sifted
1 tsp vanilla
2/3 cup almond flour (or hazelnut flour)
1 TBS fresh squeezed orange juice
1 TBS cocoa powder
optional: jam of your choice for filling...raspberry is nice for blooood but apricot is tasty too!
Preheat oven to 325.
Sift flour, cornstarch, salt and cocoa into a bowl.
Cream butter in a mixer, then sift in confectioners sugar and mix until fluffy.
Add vanilla, almond/hazelnut meal, and orange juice and blend well.
Slowly add flour mix to butter and combine until dough appears crumbly.
Roll between wax paper and pop it into the refrigerator for about an hour. Or alternatively you can put the wax paper wrapped dough into a freezer bag and freeze.
Make fingers/toes as in the prior recipe, then bake for ~22+ minutes. This might vary quite a bit depending on how large you make your fingers, so just do an initial test bake.
Decorate as in previous recipe.
Now gross out your friends with your new and improved tasting ogre fingers/toes! :-)


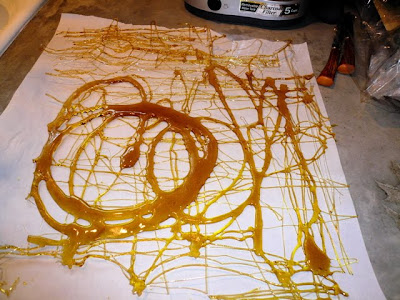


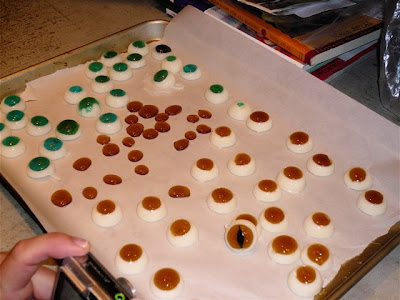


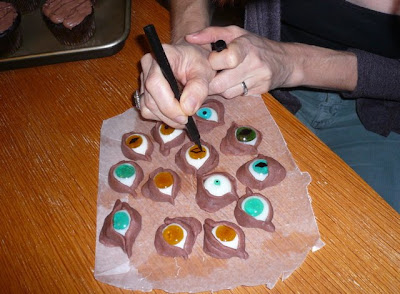 Shhhhh...don't tell those wretched kids that that's tofu frosting! Muahahahaha.


 Not sure what kind of eye this is supposed to be. Monster said he wanted a dragon eye. I asked him what that was supposed to look like and he hadn't a clue. :-)
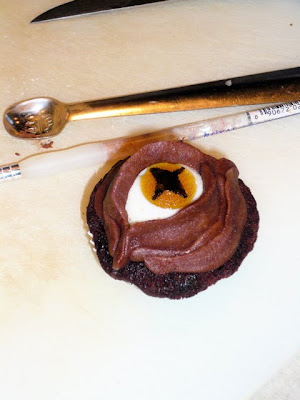 Whew...


